


WARP 9 RACING
Warp Drive Primary Chain Kit WARP 9 / SUR-RON Light Bee
Warp Drive Primary Chain Kit WARP 9 / SUR-RON Light Bee
Couldn't load pickup availability

More information
-
Description
Are you tired of breaking the belts on your Sur-Ron Light Bee ? Discover the Warp 9 Racing primary chain kit now.
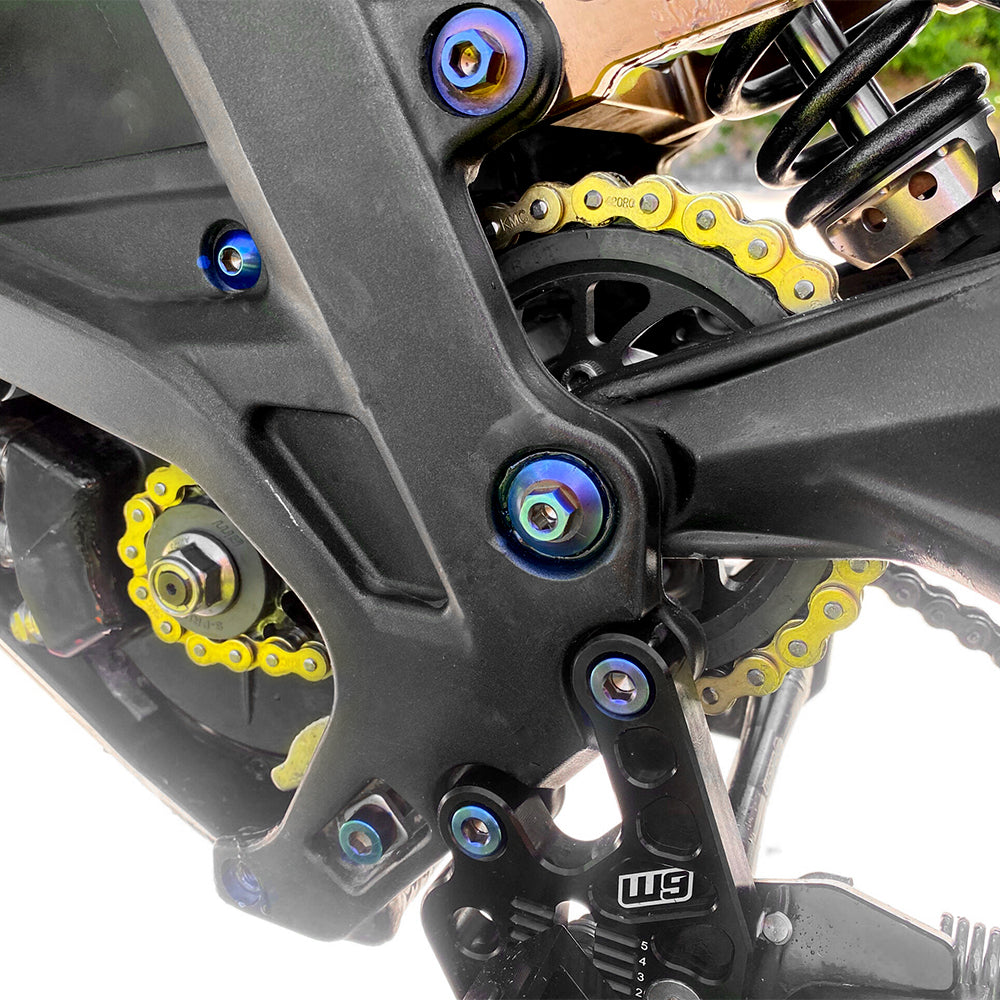
The engine and countershaft gears have vulcanized rubber shock absorbers .
This design causes the inner chain plates to contact the outer rubber bushings before the chain rollers fully seat into the bottom of the sprocket.It is both robust and reliable . An excellent choice if your motorcycle develops more than 7kW or you ride a lot on cross terrain with jumps , whoops or in enduro on muddy and wet terrain.
Remember to tighten and lubricate chain. The shrill sound that it can produce fades as it is broken in.
-
Features
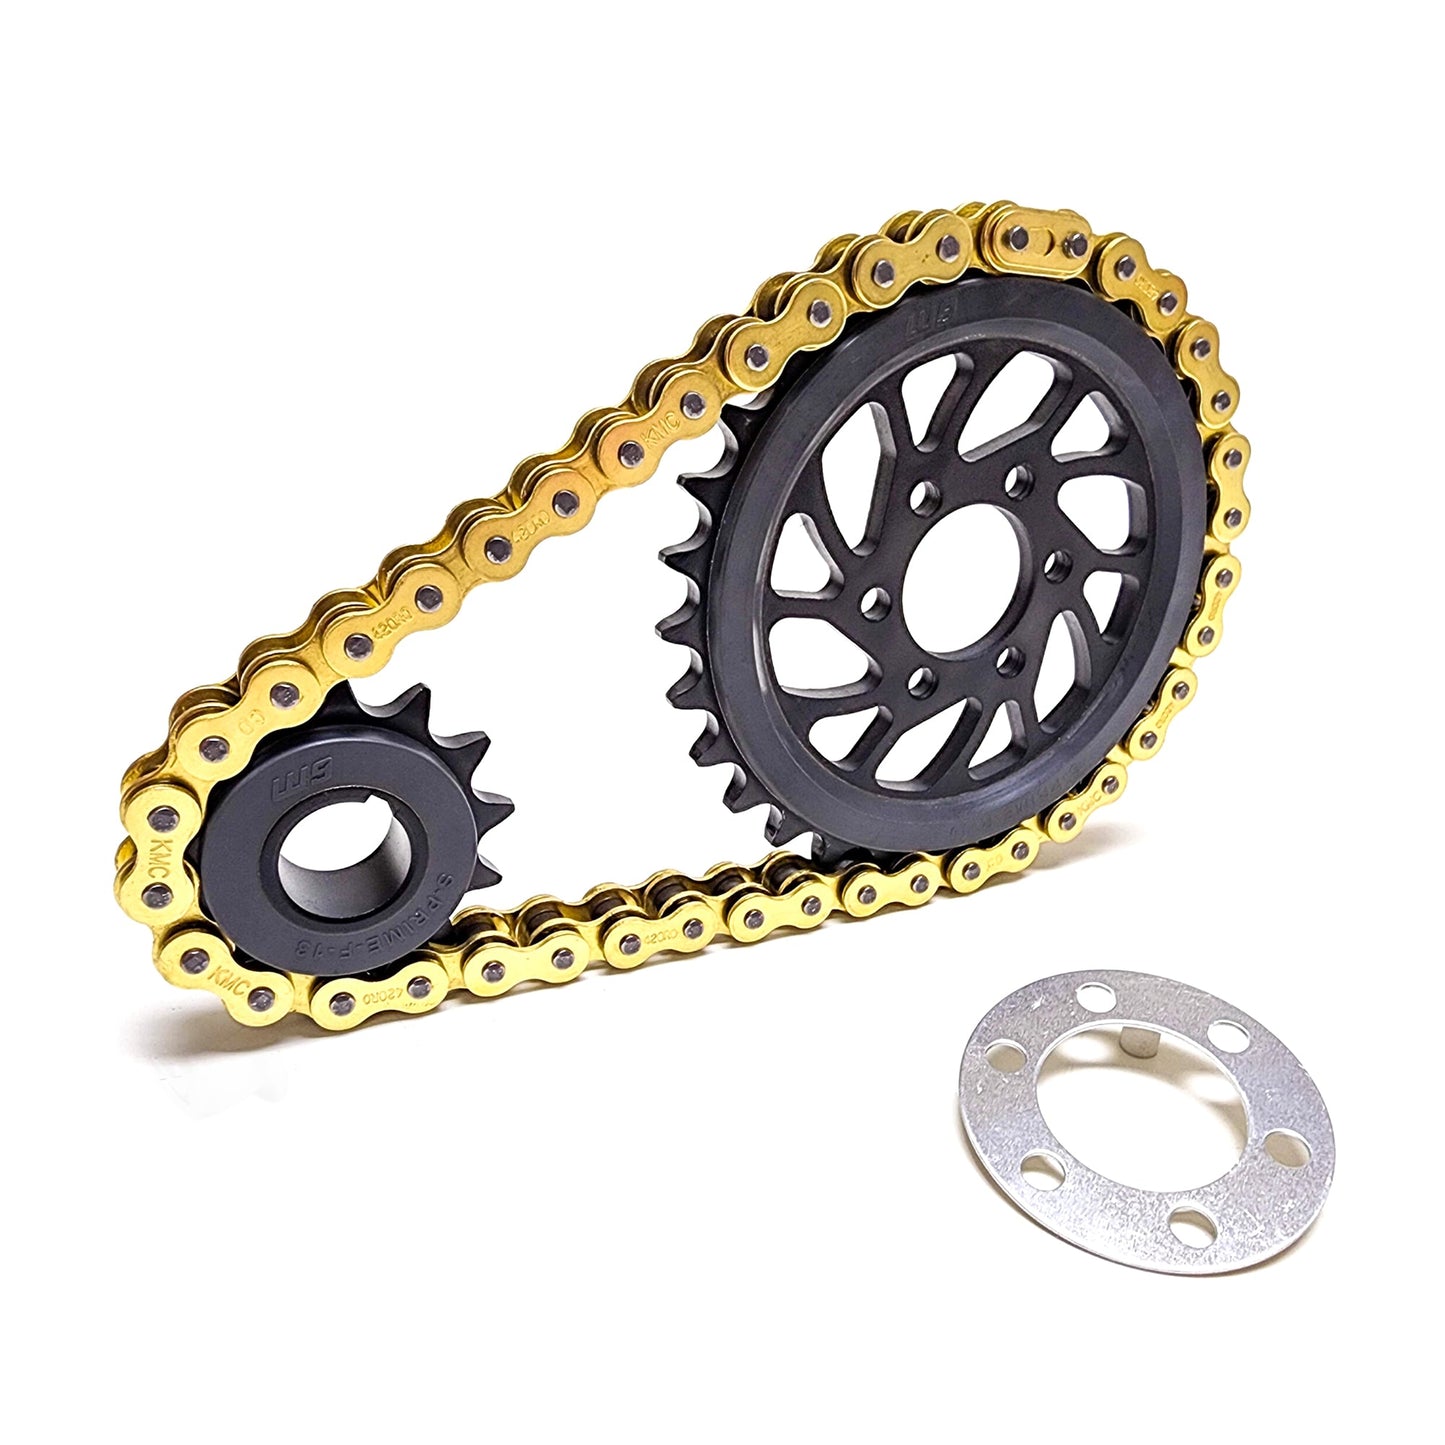
- 2 damped black steel sprockets with EDM coating
- Pinion size: 30 and 13 teeth
- Same drive ratio as with the original belt
- KMC 420 O-ring chain (42 links with main clip)
- 10 to 15 decibels quieter than other 420 primary chain kits on the market. -
Strong points
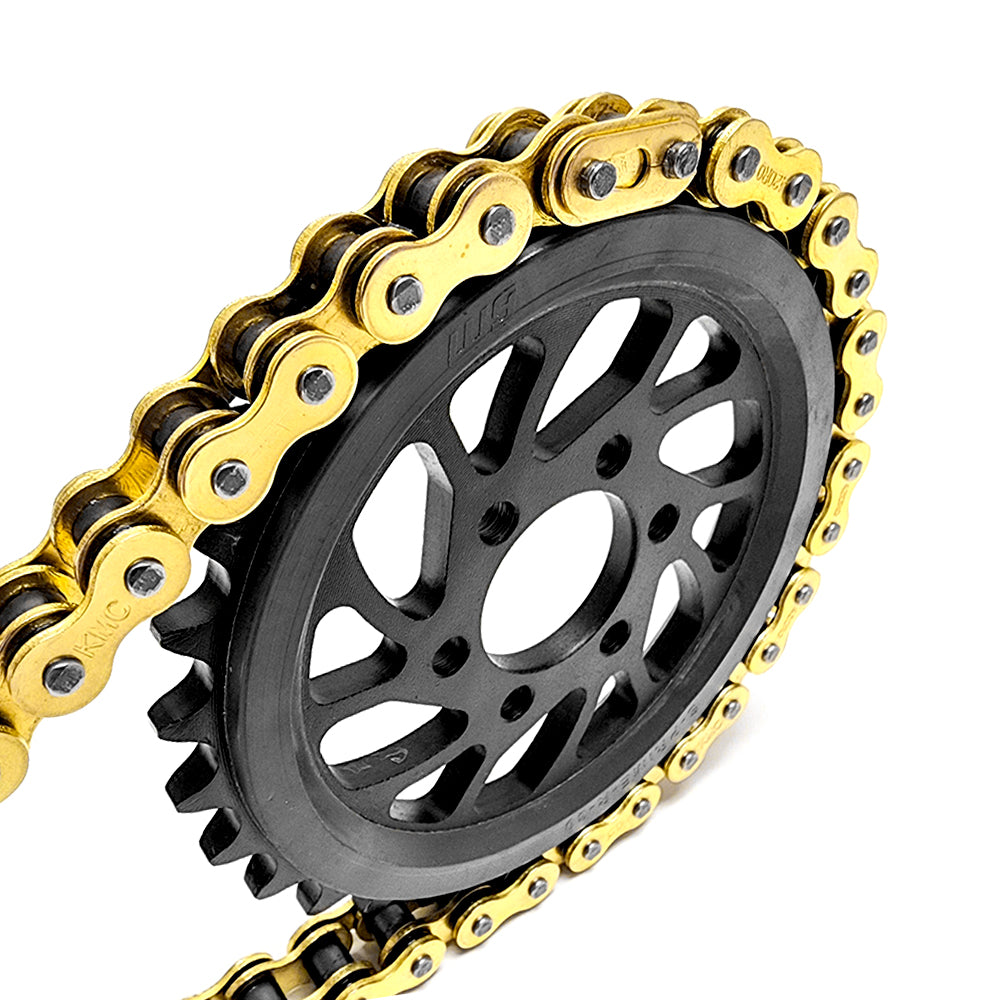
- Reduction of the resonance effect of steel gears thanks to EDM dampers
- High resistance to stress
- Conical design to obtain the best weight/rigidity ratio
- High quality finish
- Carried out from design to finishing in the WARP 9 factory in the USA
Collapsible content
Installation Instructions
- Disconnect the battery.
- Remove the plastic belt cover located on the left side of the engine.
- Loosen the engine shaft belt pulley nut. It is best to use an impact wrench to quickly loosen the nut. If you are using hand tools, it will be helpful to have assistance stabilizing the motorcycle by sitting on it and holding the brakes to prevent the engine from spinning.
- Place the Sur-Ron on a stand to elevate the rear wheel and facilitate access to the left side.
- Remove the rear wheel.
- Remove the rear cable guide.
- Place the rear brake assembly on the seat (it may help to place a clean cloth on the seat first).
- Loosen the two (2) engine adjustment bolts.
- Remove the suspension center link nut and bolt that connects the link to the swingarm.
- Remove the motor shaft pulley nut and shaft key.
- Loosen the swingarm pivot bolt and nut.
- Separate the driveshaft from the swingarm and set the swingarm aside.
- Remove the engine shaft pulley and remove the drive shaft.
- Remove the two spacers from the driveshaft to avoid losing them.
- Remove the six bolts to remove the large pulley from the driveshaft.
- From the Warp 9 kit, install the large chain sprocket (using a spacer first if necessary for proper chain alignment) using the original bolts with blue threadlocker and tighten to 8 ft-lb.
- Place the motor shaft pin onto the shaft (it may help to add grease to hold it in place).
- From the Warp 9 kit, install the small motor shaft sprocket and tighten the shaft nut with your fingers (the appropriate torque will be applied near the end).
- Place the two spacers back into the driveshaft and place the driveshaft between the swingarm, then place the swingarm assembly back into the motorcycle (don't worry, they are the same, you can swap them).
- It may be helpful to have assistance installing the chain while the swingarm is pushed further forward in the motorcycle (if the pivot bolt is installed first, it may be difficult to install the chain).
- Install the swingarm pivot bolt and nut and tighten securely.
- Install the center link bolt and nut.
- Replace the rear brake assembly and reinstall the wheel.
- Install the rear brake cable guide.
- Adjust the engine positioning using the cam located on the left side of the motorcycle to achieve proper chain tension, then tighten the two (2) adjustment bolts.
- Remove the motorcycle from the stand and have assistance stabilize the motorcycle by sitting back in the saddle and holding the brakes.
- Apply blue threadlocker to the motor nut and hand tighten (install the nut by hand, do not use an impact wrench).
- Reinstall the engine cover.
Note: It is recommended to periodically clean the chain and lubricate it with a high quality chain grease.
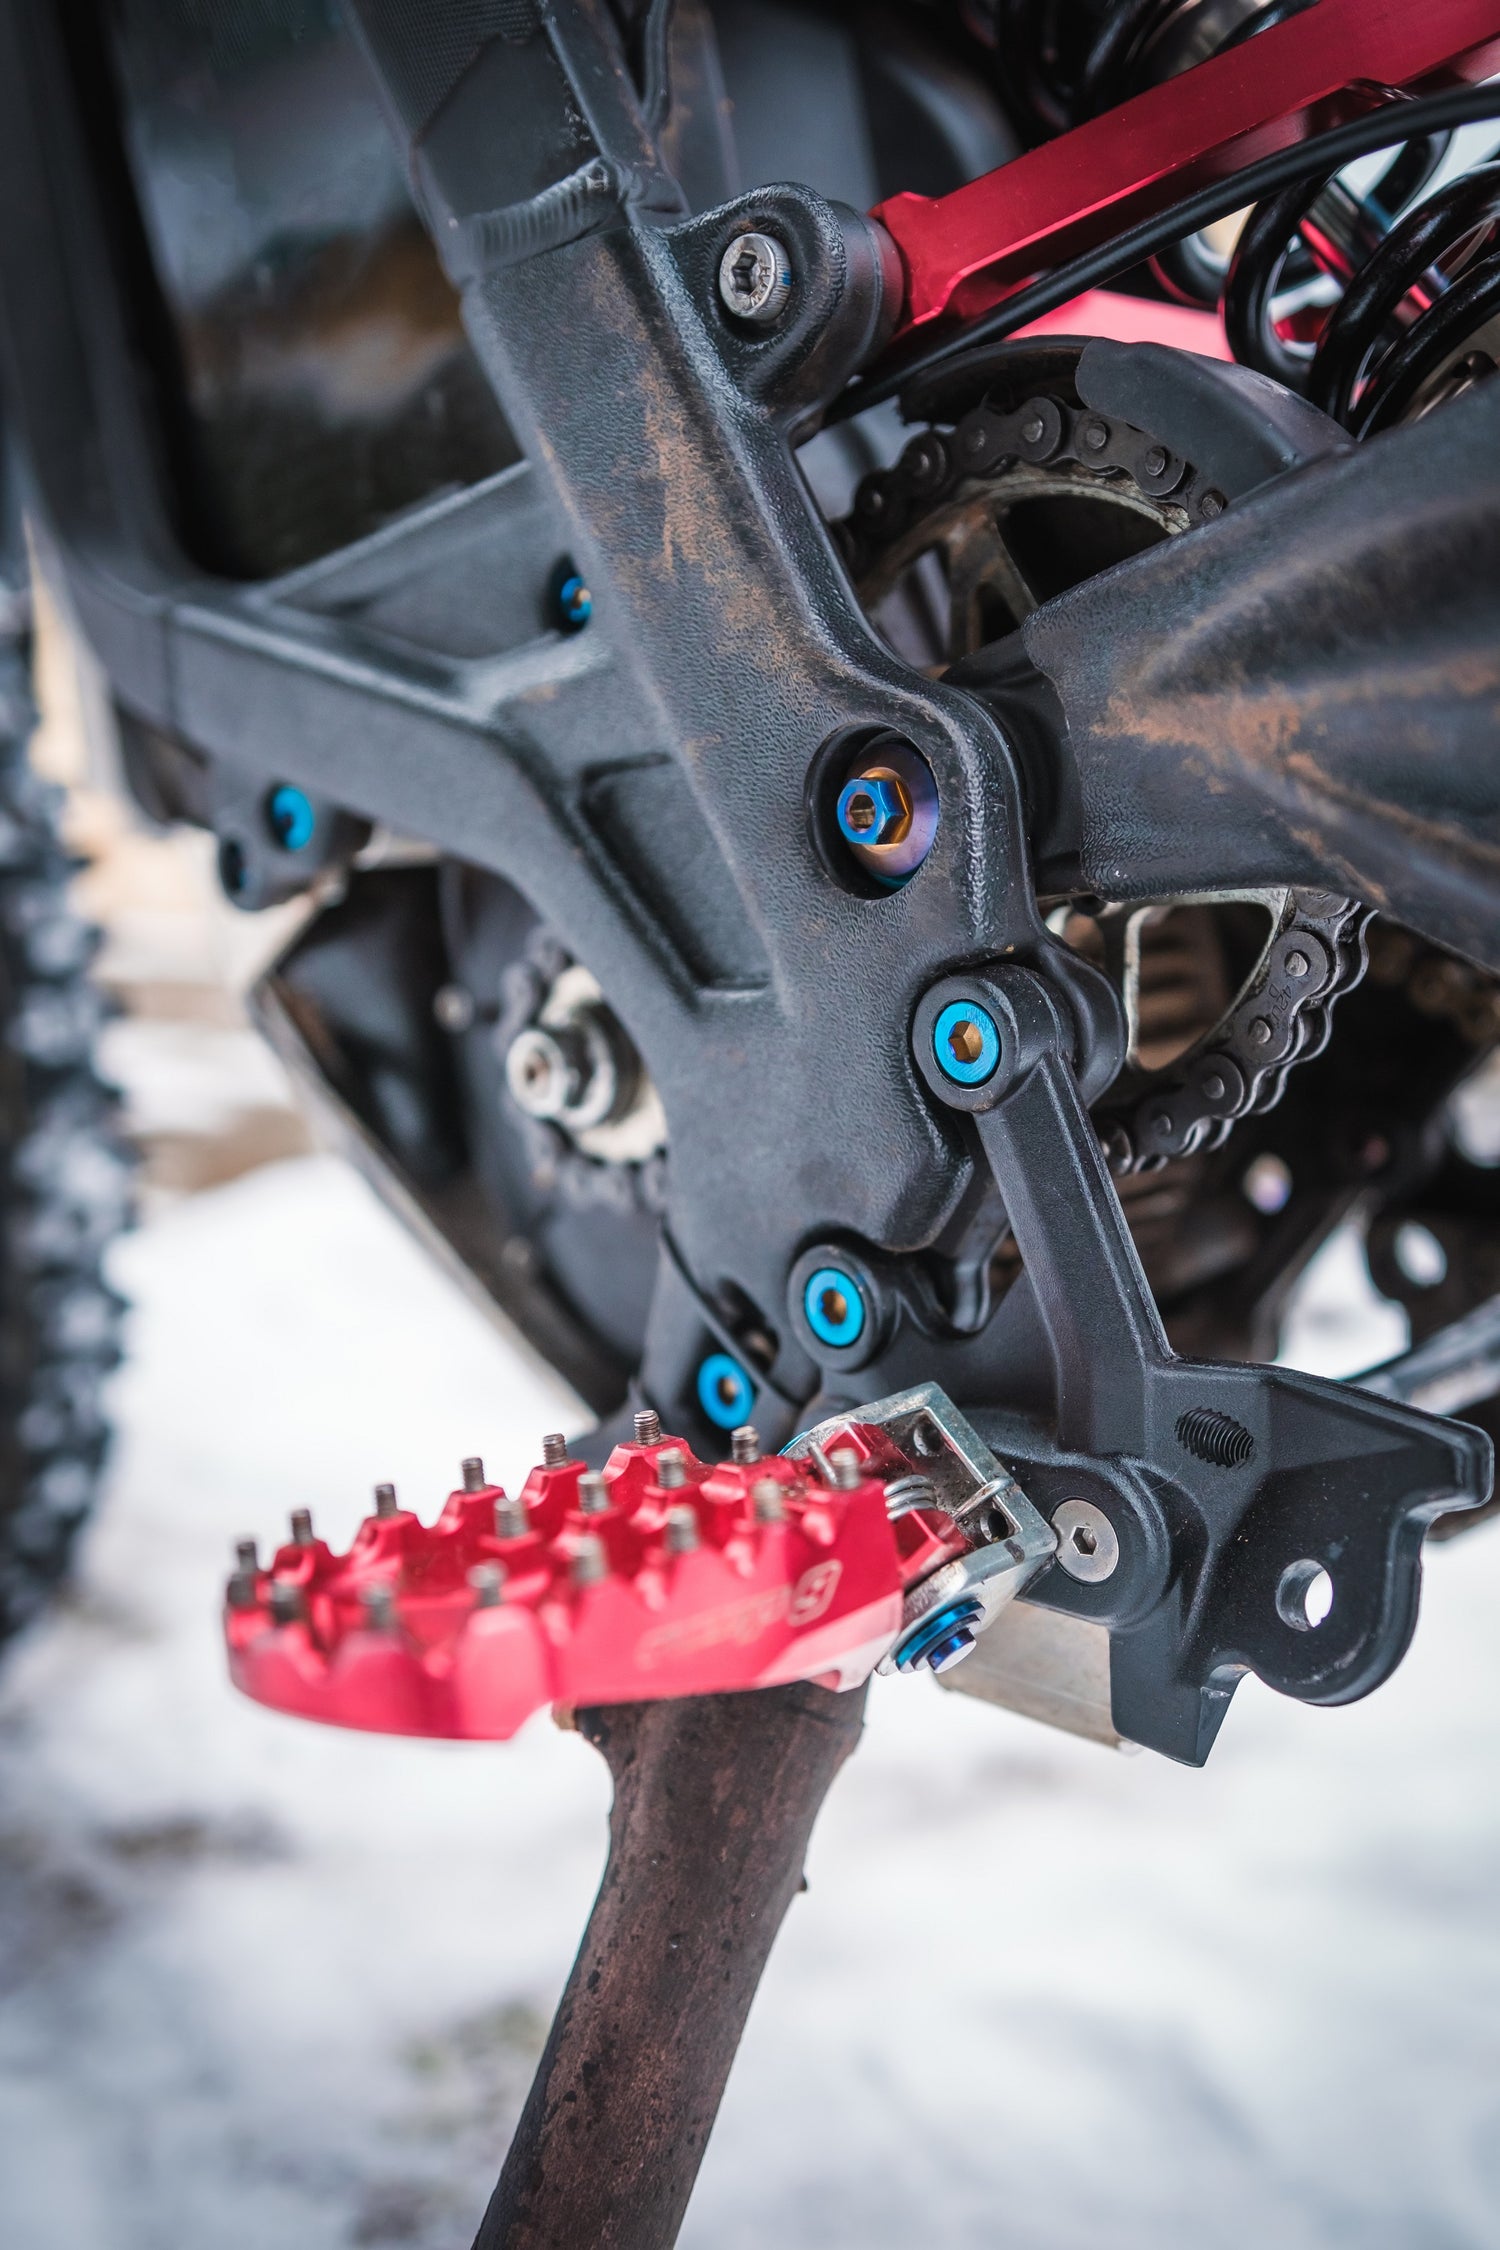
"Jo & Will's Word"
Switching to the primary chain kit was one of our best Light Bee modification decisions. We can now go for a walk without worrying if we will have to push back after another broken belt ...
And the noise reduction offered by the Warp 9 kit is a real plus!