Introduction
-
Presentation of the Sur-Ron Light Bee as a benchmark among quality electric motorcycles.
-
The importance of proper maintenance and understanding your machine.
-
What readers will find in this guide: a summary of the best information for Sur-Ron owners.
I. Before You Start: Essential Safety and Precautions with Your Light Bee
-
Warning: The power of the Sur-Ron Light Bee in off-road mode.
-
Use on private property / tracks.
-
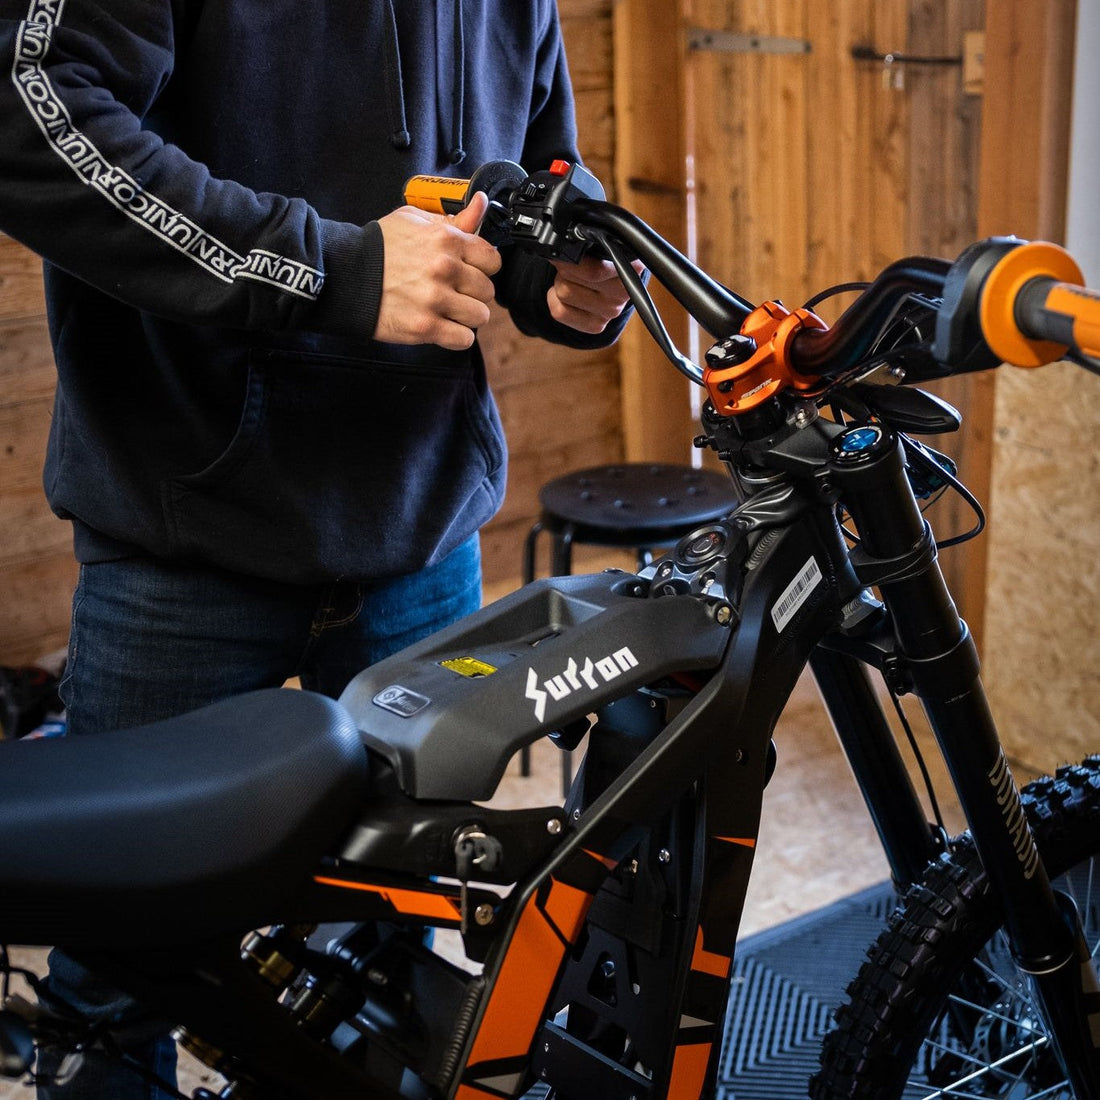
Crucial safety tip: NEVER use cheap adjustable stems to raise your handlebars. Opt for robust downhill MTB parts.
-
Important: Turn off your circuit breaker before connecting/disconnecting your battery. Check your tire pressure, spoke tension, and tighten your axle caps and pinch bolts before EVERY ride.

II. Unpacking and Initial Setup of Your New Light Bee
-
Step 1: Your Battery
-
Turn off the circuit breaker BEFORE connecting or disconnecting the battery to avoid damaging the connector.
-
-
Step 2: The Fork – Identify Your Model
-
-
Mention of different types: DNM USD8S, FASTACE, KKE (generally inverted).
-
Warning about disassembling your axle: Some axle nuts may have a reverse thread. Check before forcing.
-
General advice for inverted forks (without brace):
-
Ensure your front wheel is off the ground.
-
First tighten your main axle bolts (to 2Nm, no more).
-
Rotate the wheel, move it laterally, THEN tighten your pinch bolts. This ensures the parallelism of your stanchions.
-
Use blue Loctite on your pinch bolts.
-
-
-
III. Before Every Ride with Your Light Bee: Essential Checks

-
Your Battery: Charge if necessary. If already charged, proceed to step 2.
-
Battery Connection: Your circuit breaker on OFF, your key on OFF. Connect your battery, circuit breaker on ON, then your key on ON. NEVER disconnect/reconnect your battery with the circuit breaker on ON. Ensure your connector is clean, well inserted, and tight.
-
Spoke Tension: Check and recheck after a few rides. Consult a professional (motorcycle, MX, bicycle) if needed.
-
Bolt Tightening: Axles, headset, stem, top cap, brake levers, throttle, fork crown bolts.

-
Your Brakes: Check for proper function and absence of excessive friction. Bleed or adjust if spongy or too much friction.
-
Tire Pressure: Between 18-30 psi for original off-road tires. Too low = pinch flat or valve stem tearing. Too high = poor off-road grip.
-
Chain Tension: Should be able to move 0.5" to 1" (1.2cm to 2.5cm). Too tight = wear and less flexibility. Too loose = rapid sprocket wear, risk of wheel lock-up.
-
Your Rear Axle and Suspension: Check tightness. If your rear spring is loose, tighten the lock nut.
-
Chain Lubrication: Check and lubricate if dry (dry lubricant/wax for dry/sandy conditions, wet lubricant for mud). Your gold O-ring chain: no need for frequent lubrication.
-
Your Front Fork: Block your front brake, compress your fork. It should depress at least halfway. Adjust your compression (blue knob top right) and rebound (blue knob under the right stanchion).
-
For your DNM fork (coil spring with air bladder): Ensure there is 150 PSI in your air chamber (use a high-pressure suspension pump).
-
-
Protective Gear: ALWAYS wear a full-face helmet (motocross type) and protectors when riding your Light Bee.
IV. Regular Maintenance of Your Sur-Ron Light Bee

-
Every 60 miles (approx. 100 km) or depending on usage (more frequent for intensive use):
-
Clean and lubricate your chain.
-
Check your chain tension (and belt tension if applicable).
-
Inspect your spokes.
-
Retighten your suspension bolts and axles.
-
Inspect: your headset, stem, handlebars, brakes, axles.
-
Your battery connector: keep it clean and well-fitting (slightly spread the pins if necessary).
-
-
Long-Term Maintenance (a few months or hundreds of kilometers):
-
Inspection of your fork pivots, shock absorber, motor mounts, belt tension. Essentially, check all your nuts and bolts.
-
Hydraulic bleed kit for your brakes (they use mineral oil).
-
-
Harsh Environments (Road Salt, Saltwater) for your Light Bee:
-
Your Electronics: Protect your connectors with dielectric grease (on seals and the back of connectors, NOT on metal pins). Grease exposed power connectors on your controller.
-
Your Motor: Avoid immersion. For riding near water/snow, grease your external bearings. After the ride, dry your motor (compressed air). Lubricate your bearings and shaft (not your belt).
-
V. All About Your Sur-Ron Light Bee Battery: FAQ and Best Practices

-
Battery Storage:
-
Self-discharge (your BMS remains active). Check monthly, keep it between 40-60%. If it discharges to 0%, a "jumpstart" may be necessary.
-
-
Battery Maintenance:
-
IMPORTANT: NEVER LEAVE YOUR BATTERY CHARGING UNATTENDED OR OVERNIGHT. Risks associated with Li-ion batteries.
-
Always turn off your circuit breaker before plugging/unplugging it.
-
VERY IMPORTANT: NEVER CHARGE YOUR LI-ION BATTERY IF IT IS FROZEN (<0°C / 32°F). Allow the battery to warm up indoors (>10°C / 50°F) for several hours.
-
Charge it to 100% for its first 3-5 cycles.
-
First plug your charger into the wall outlet, THEN into the battery.
-
-
Battery Charging FAQ:
-
Let your battery cool down for 1hr+ after a ride before charging it.
-
Let your battery rest for 1-2 hours after charging (cooling and BMS balancing).
-
Charge it to 80% and discharge it down to 20% for maximum lifespan.
-
It's OK to charge it to 100% for more range, but don't leave it at 100% for more than a day without reason.
-
Your standard BMS only balances at 100% (top balancing).
-
Balancing is slow.
-
A new battery may require 6-8 charge/discharge cycles to balance properly.
-
Avoid discharging your battery below 10% (risk of BMS tripping, your charger might refuse to start). Link to a "jumpstart" procedure
-
Your voltage at 100%: approximately 58.8V for a 52V battery (tolerance for 58.6V or 58.9V).
-
-
Charger LED Status:
-
Yellow: Battery is charging, SOC >80% but <100%.
-
Red: Battery is charging, SOC <80%.
-
Green: Charging is complete.
-
Flashing yellow: Charger has detected an issue (battery, voltage too low <45V, short circuit).
-
VI. Key Technical Specifications of the Sur-Ron Light Bee
-
Dimensions & Weight: Length 1870mm, Width 780mm, Height 1040mm, Seat height 800mm, Ground clearance 270mm, Wheelbase 1260mm, Weight 50kg.
-
Axles: Front 20mmx110mm (non-boost DH mountain bike type). Rear specific Sur-Ron M12x1.25.
-
Maximum Load: 130kg (286LBS) with equipment (for normal road use, upgrades may be needed for intensive off-road at this load).
-
Battery: 14.5"x6.4"x5.5", Weight 24.5lbs. Specs: 60V nominal, 31.5Ah, 1900Wh, 16S11P Panasonic NCR18650PF. Battery capacities evolve over the years.
-
Charger: Input 120VAC, Max output 67.2V (60V nominal), Max charging current 10A.
-
Connectors: Male charger LP-20-C03PE-01-001, Female battery plug LP-20-J03SX-01-001.
-
Chain:
-
LightBee (LB): 420 NON O-ring, 1/2" pitch.
-
LightBee "X" (LBX): 420 OR NON O-ring, 1/2" pitch.
-
With 48T sprocket: 106 links.
-
(Chain length list for different sprockets: 42T=102, 48T=106, 48T+pedal kit=108, etc.)
-
Note: If you need a master link, get one for 420 chain. O-ring chains require a compatible master link. An additional link is needed with its pedal kit.
-
-
Motor Belt: Contitech HTD 560 8M, 15mm wide.
-
Tires & Rims:
-
Tires (F/R): 70/100-19. Rims (F/R): 19x1.4 (offroad version).
-
Spokes: 12 gauge MTB type.
-
Note on tires: The recommended size is 70/100-19 (approx. 2.75" to 3"). Wider MX tires may rub on the chain. Some trial tires (e.g. Shinko 241 19x3.5") may fit with side knob modification.
-
Note on spokes: In early 2020, Sur-Ron changed the length of the rear spokes on its 19" wheel. Measure or count the crossovers (2 crossovers = short version 200mm, 3 crossovers = long version 215mm, only on 2020 models). The front wheel is identical on all 19" rims.
-
-
Brakes:
-
FRONT: Four-piston hydraulic disc, standard 203mm disc (6 holes).
-
REAR: Four-piston hydraulic disc, exclusive Sur-Ron 203mm disc with oversized bolt pattern.
-
VII. Focus on Suspension: Forks and Shocks

-
Original Fork Models: Fastace Air, Fastace Coil, DNM USD8 Coil, KKE Coil.
-
Fastace Air (2017-2018) & Fastace Coil (2018+):
-
Differentiation: the coil version does not have air fill valves on the right stanchion.
-
Fast-Ace axle end bolts: M14x1.5, thread length 25mm. Buy grade 12.9 if replacing.
-
-
DNM-USD8:
-
Requires regular maintenance.
-
Check air pressure on the shock side: 150 PSI.
-
If you need to replace the axle/bolts: kit available.
-
-
KKE:
-
Similar to DNM (coil spring, rebound, preload adjustment). The air valve is at the bottom (air bladder, not main air chamber). Use DNM pressure recommendation.
-
No manual, only images.
-
The DNM axle is KKE compatible.
-
-
Problem: Stanchions are sticky, fork doesn't compress smoothly? (Stiction)
-
For DNM: this can be due to lack of air. Set to 100-110 PSI.
-
If 110 PSI and it's still sticky: probably the seals are dry/dirty. Clean and lubricate the stanchions (WPL fork lube, silicone spray).
-
If still an issue, more thorough maintenance is needed.
-
-
-
Rear Shocks:
-
All original models (Fastace, DNM, KKE) are similar: same size (eye-to-eye), coil springs, rebound/compression adjustments, spring preload.
-
Spring Replacement: The DNM uses a ø36mm internal spring (Fox size). The FastAce uses ø38mm (RockShox size). KKE unknown. Min length 3.0", max 3.25" without spring compressor (3.5" possible with compressor on FastAce).
-
Shock Upgrade: Original shock: 10.5" (267mm) eye-to-eye, 3.5" (or 3.25") stroke, 24mm wide eyelets (with bushings), 8mm bolts.
-
Best choices (often expensive): Fastace BDA, Fox DHX2, Vivid RC2, EXT ARMA.
-
-
-
How to Adjust Suspension:
-
Use downhill mountain bike tutorials.
-
VIII. Essential Torque Specifications for Your Light Bee (N.m)
-
Simplified table of the most important torques
-
Controller bottom mounts L&R (M6): 8 N·m
-
Front brake disc mounting (M5): 8-10 N·m
-
Rear brake disc mounting (M6): 12 N·m
-
Rear sprocket mounting (M8): 20-30 N·m
-
Stem bolt (M6*25): 8 N·m
-
Handlebar clamp bolts on stem (M6): 5-6 N·m
-
Front wheel axle (M12): 20-30 N·m
-
Rear fork axle (M10): 35 N·m
-
Rear wheel axle (M12): 55-60 N·m
-
IX. Useful Documents and Resources for Your Sur-Ron Light Bee
X. Quick Frequently Asked Questions (FAQ) about the Sur-Ron Light Bee
-
Q1: My Sur-Ron Light Bee won't start, what should I do?
-
A: Check the circuit breaker, battery connection, main fuse, and error codes (if displayed).
-
-
Q2: How can I increase the range of my Sur-Ron Light Bee?
-
A: Ride more smoothly, maintain proper tire pressure, avoid heavy loads, consider a higher capacity battery (if compatible and available).
-
-
Q3: The chain skips, why?
-
A: Check chain tension, chain and sprocket wear, and wheel alignment.
-
-
Q4: Can I wash my Sur-Ron Light Bee with a high-pressure jet?
-
A: Not recommended. Prefer a gentle wash, avoid directing the jet directly at bearings, electrical components, and the motor.
-
-
Q5: Where can I find spare parts for my Sur-Ron Light Bee?
-
A: At specialized retailers like jowillshop.com!
-